Gable Vent Installation Services for Property Owners
This page helps property owners compare local contractors who install gable vents and learn about their services.
- - Gable vent installation services for homeowners seeking improved attic ventilation and energy efficiency.
- - Local contractors specializing in exterior upgrades and roofline enhancements involving gable vents.
- - Service providers experienced in residential and commercial property venting solutions.

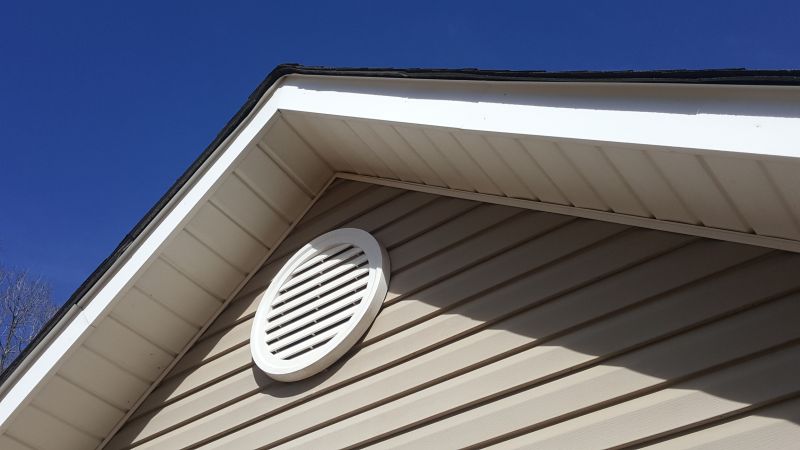
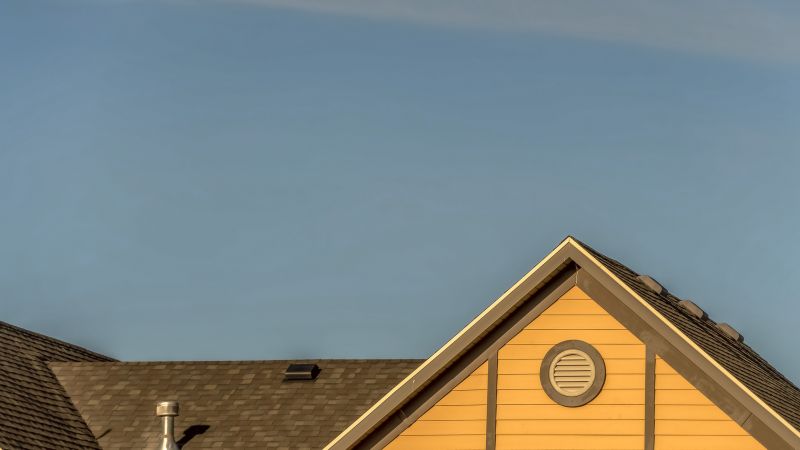
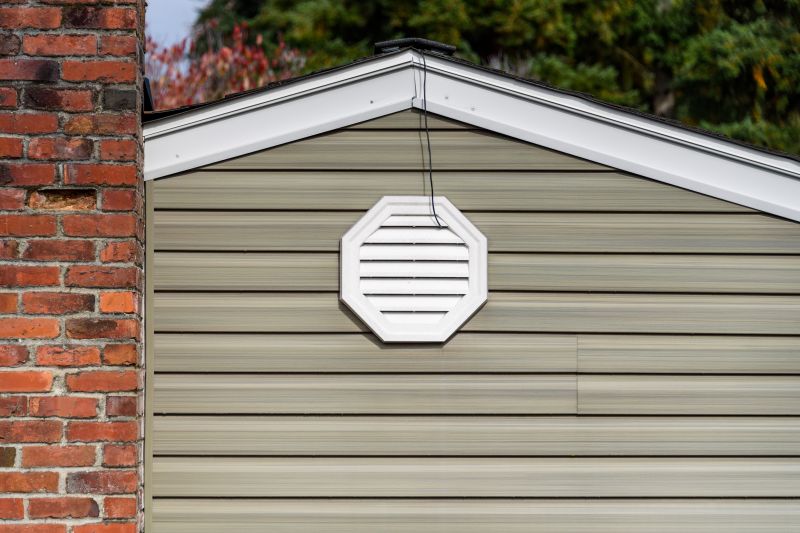
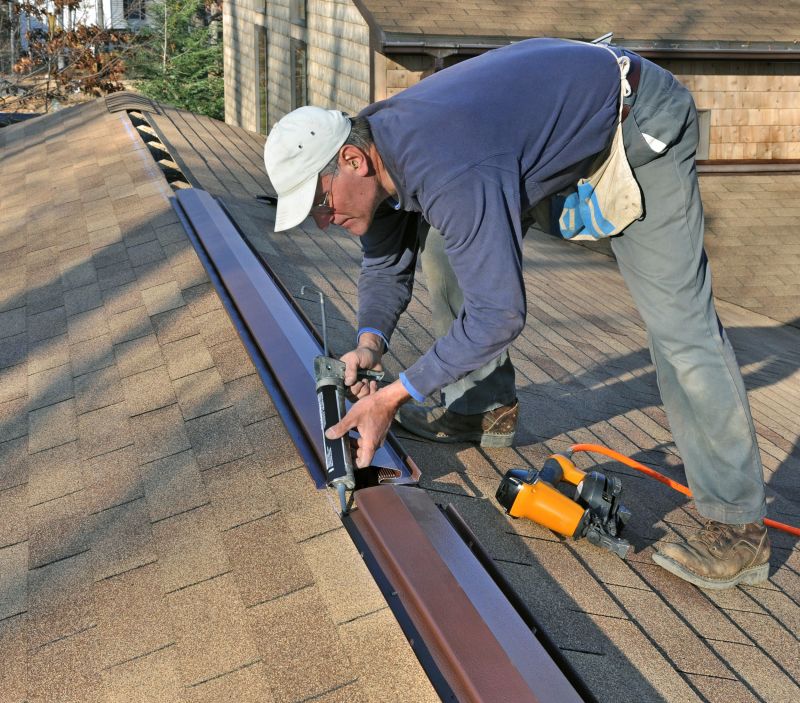
Gable vent installation is a common service sought by property owners looking to improve attic ventilation, enhance energy efficiency, or address existing venting issues. Local contractors who specialize in this work typically assess the structure, recommend appropriate vent styles, and handle the installation process to ensure proper airflow and durability. Homeowners may turn to these service providers when upgrading or replacing outdated vents, or when constructing new buildings that require effective attic ventilation solutions.
Connecting with experienced local pros can help property owners find the right professionals for their gable vent needs. These contractors bring practical knowledge of different vent types, installation techniques, and building codes relevant to the area. By comparing options, property owners can choose service providers who are well-equipped to handle the specifics of gable vent installation, ensuring the work is completed efficiently and to standard.
This guide provides helpful information to understand the basics of gable vent installation and what to consider when planning a project. It assists in comparing local contractors and understanding the services they offer. By exploring these details, homeowners can better prepare to connect with qualified service providers in their area.